
Setup · Small kitchens
A small-kitchen coffee station that actually works
Plan a compact UK coffee station around your daily drink, safe sockets, water access, appliance clearance and only the accessories you use.
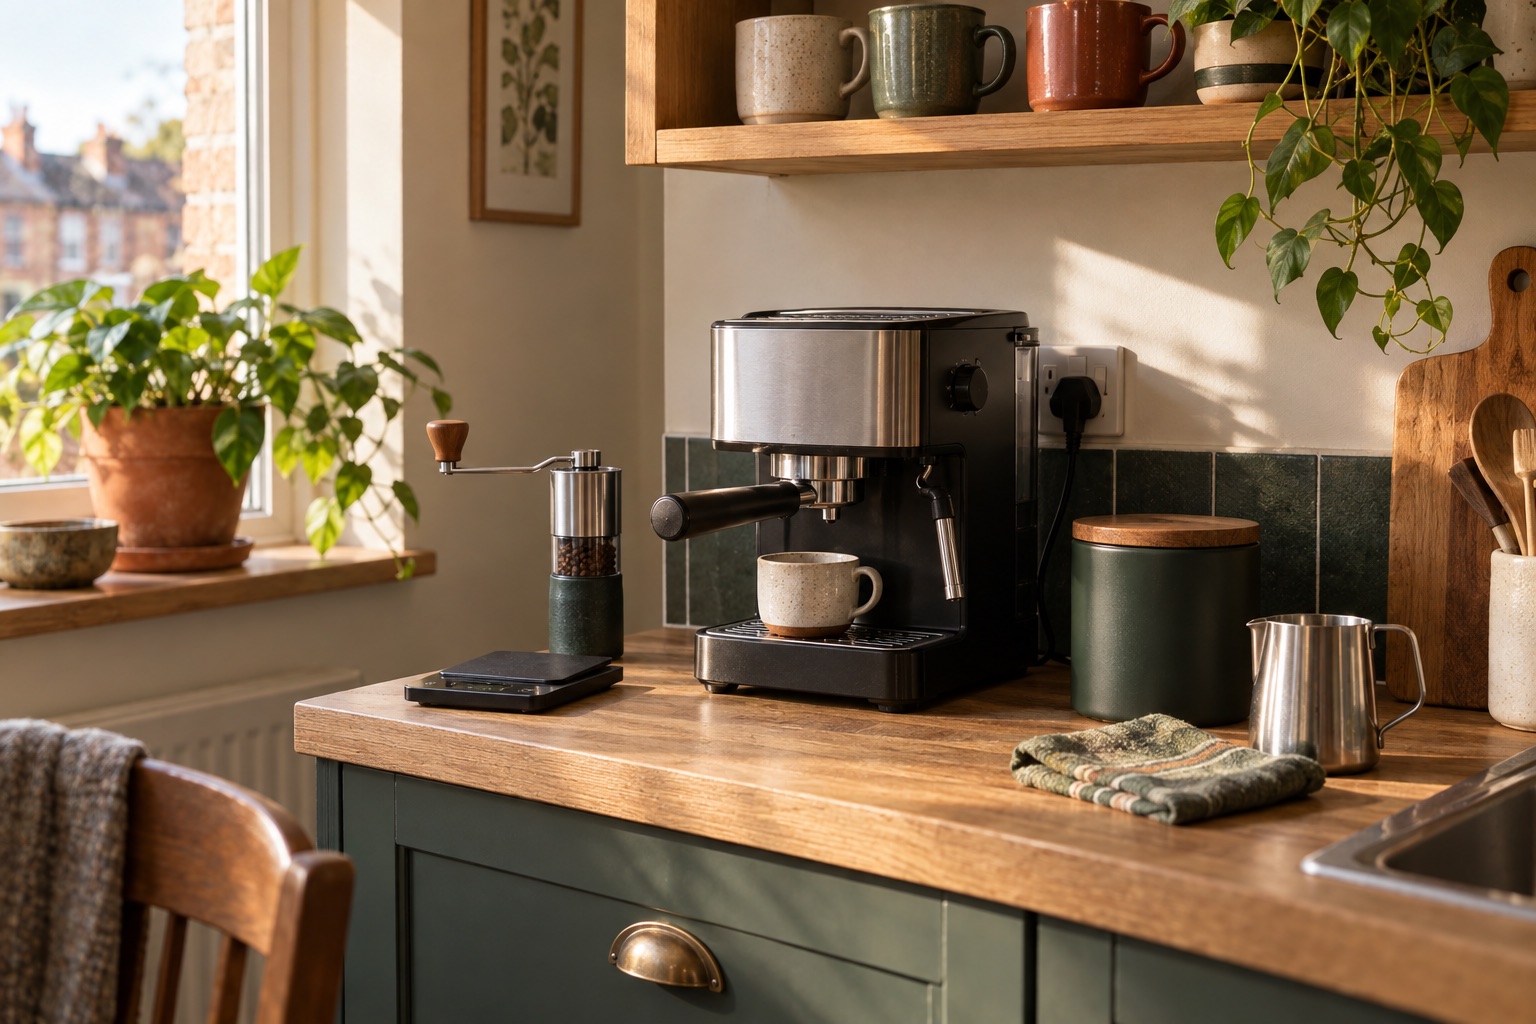
Measure doors, handles, top-fill hatches and cupboard clearance.
Keep electrics away from splashes and follow appliance ventilation guidance.
Put beans and papers in a dry nearby cupboard rather than crowding the worktop.
Test a real morning routine before adding organisers or gadgets.
A coffee station is not a display of every accessory you own. It is a place where one person can make the drink they usually want without moving three appliances and wiping up a spill every morning. This guide focuses on organising an already chosen routine. If you are still selecting the brewer itself, begin with coffee setups for small kitchens.
Start with a measured footprint
Measure usable width, depth and overhead height, not the nominal length of the worktop. A cupboard door may swing through the space; a top-fill machine needs room to lift its tank or hopper; a grinder needs a place for the grounds cup. Draw a rectangle on paper for each appliance, then add the area your hands need to work. Leave the manufacturer-specified ventilation and heat clearances. Do not place an appliance under a low shelf simply because its body physically fits.
Plan where clean water comes from and where the used puck, paper or drip tray goes. A machine beside a sink may simplify filling and emptying but increases splash exposure. Keep sockets, plugs and cords dry; avoid trailing leads across a wet worktop. Follow your appliance's electrical and placement instructions rather than a generic “coffee corner” photograph.
Pick one counter layout
Manual espresso: machine near the water route, grinder within reach, small scale stored in a drawer or beside the machine, tamper and cloth together. Leave a safe place for a hot portafilter and enough room to remove the drip tray. Milk pitchers can live in a cupboard if used only on weekends.
Pour-over: a lightweight dripper and papers can be stored vertically; leave the kettle's base a dry stable spot and place the scale only when brewing. A server need not remain on display. A gooseneck kettle is optional if your existing kettle pours carefully enough.
Pod or bean-to-cup: make capsule/bean storage and waste emptying the priority. A pod machine may save preparation area but creates a capsule supply and recycling route. A bean-to-cup machine needs access to water tank, bean hopper and grounds drawer even when its base looks compact.
A weekly friction audit
For seven mornings, note every item you move and every spill you clean. If grounds scatter, a dosing funnel might help. If a large scale blocks the espresso cup, a compact model may earn its place. If beans sit in a clear jar by a sunny window, move them to a sealed dark cupboard before buying a premium canister. If the milk jug is always in the way, put it near the sink rather than leaving it beside the grinder.
This is why a cheap organiser is not automatically useful. It may consume the very preparation space you need. Choose vertical storage for papers or mugs only where shelves are safe and accessible; do not hang heavy glass or hot equipment over a brewing area.
A compact shopping hierarchy
First fund the brewer and, where relevant, a suitable grinder. Then secure the consumables: beans, matching papers or capsules, safe water access and cleaning supplies. A scale is next if measuring solves a real consistency problem. Add a milk jug only for a steam-wand routine, and storage hardware only if the original bean bag does not work. The espresso accessories checklist separates necessary tools from optional experiments.
Frequently asked questions
How wide should a coffee station be?
There is no universal width. Measure your exact appliances and the hand movements needed to fill, brew, remove waste and clean them. A nominal 45cm space can be generous for a dripper and restrictive for an espresso machine plus grinder.
Is a trolley safer than a worktop?
Only if it is stable, heat-appropriate, near a safe socket and used according to each appliance's placement rules. Do not run extension leads across the kitchen or place a boiling kettle on an unstable cart.
What should stay in a cupboard?
Spare papers, unopened beans, occasional milk tools and maintenance supplies can often stay dry and accessible in a cupboard. Keep chemicals separated from food and follow their labels.
Helpful products
Only if these solve your actual constraint
A compact scale, canister and pitcher serve different routines; most households need fewer than all three.
Exagram
- 77×124×24mm
- 0.3g–2kg
- 2 AAA batteries
Compact espresso fit
Wacaco Exagram
Best for: small drip trays and a simple timed dose
A narrow 77mm-wide scale with timer, tare and 0.1g steps up to 999.9g. Useful beneath an espresso cup but less comfortable for a wide filter server.
Why it earns a place
- Compact width
- Timer and tare
- Silicone pad
What to weigh up
- AAA batteries required
- Small platform
Skip it if You regularly weigh a large pour-over server.
Check the official specification →Stainless steel
- Stainless steel
- Inner plunger lid
- Capacity varies
Air-displacement alternative
Airscape Classic Coffee Canister
Best for: whole-bean storage without a pump lid
A steel canister whose internal plunger lid pushes air down toward the beans. Match the selected size to the bags you usually buy and hand-wash its parts.
Why it earns a place
- Opaque steel
- Air-displacing inner lid
- Stackable
What to weigh up
- Two lids
- Size variants
- Hand wash
Skip it if Your roaster bag already reseals well in a dark cupboard.
Check the official specification →SES003BSS0NEU1, 480ml
- 480ml
- Stainless steel
- Temperature indicator
Temperature-guided jug
Sage The Temp Control Jug
Best for: one or two milk drinks with a steam wand
A 480ml stainless milk pitcher with integrated temperature indicator strip and controlled-pour spout. First check whether your machine includes a jug.
Why it earns a place
- Temperature indicator
- 480ml
- Pouring spout
What to weigh up
- May duplicate an included jug
- Indicator needs care
Skip it if You have no steam wand or already have a suitable pitcher.
Check the official specification →Sources and scope
The need to preserve appliance-specific clearances and access follows manufacturer documentation such as the Sage Bambino user guide. Product dimensions and functions for optional examples come from Wacaco, Airscape and Sage. The photographed layout is illustrative, not a measured installation plan.