
Milk method · Steam wand
How to steam milk at home without making big bubbles
A practical beginner sequence for steaming milk with an espresso-machine wand, from cold milk and jug position through aeration, rolling, temperature and immediate cleaning.
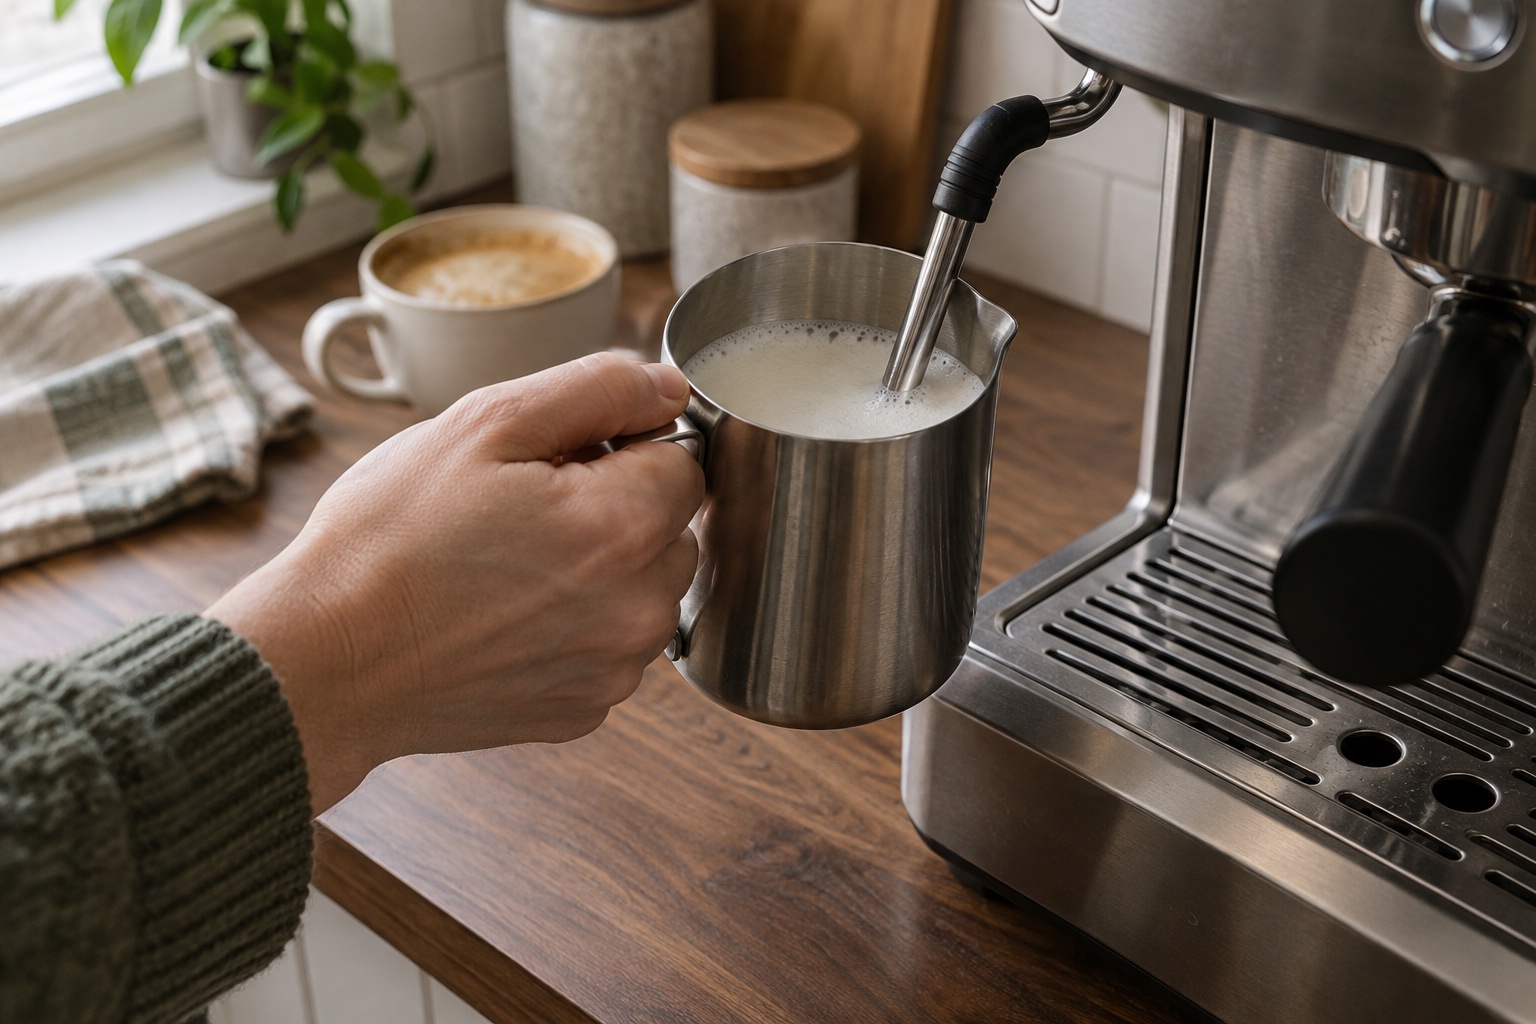
Keep hands clear of the steam jet and hot metal wand.
A loud screech can mean the tip is too deep; violent bubbles mean too much air at the surface.
A thermometer helps while learning; cup and milk choice still affect preference.
Steam-wand cleaning is part of every drink, not a weekly extra.
Good steamed milk is not a stiff cap sitting on hot liquid. For a latte or flat white, you want small bubbles mixed through the milk so it looks glossy and pours as one fluid. The technique has two phases: introduce air while the milk is still cold, then circulate it to refine the bubbles and finish heating. Begin with your machine’s manual, because purge order, wand movement, automatic sensing and minimum milk depth differ.
Before you open the steam valve
Use a clean stainless jug with enough room for the milk to expand. Pour in cold milk to a level that lets the wand tip stay submerged; roughly half a jug is a practical upper starting point, not a substitute for the maker’s fill guidance. If you use oat drink, shake it as its carton instructs and begin chilled. Keep a dedicated damp cloth ready for the wand. Point the wand into the drip tray or an appropriate container for the brief pre-purge specified by the machine, never towards your hand.
Angle the jug slightly and place the tip near the milk surface, away from the centre. Start steam only once the tip is in the milk. You should hear a gentle paper-tearing sound as small amounts of air enter. If milk sprays, stop and correct the position. After a brief aeration phase, raise the jug a little so the tip sits deeper and the milk rolls around the vessel. The aim is a coherent whirlpool rather than more surface foam.
Know when to stop
Sage’s home frothing guide suggests about 60–65°C for sweetness and texture. Use a suitable milk thermometer while learning if your machine does not measure for you. Some people prefer cooler milk; different plant drinks may have their own maker recommendation. Do not chase a number with your hand on a hot jug. Switch steam off before removing the tip to avoid a spray. Tap the jug gently only if large bubbles remain, swirl until the surface is glossy, and pour soon after steaming.
The milk may continue warming briefly after steam stops. If it tastes cooked or the foam collapses, stop a little earlier next time. If the bottom stays thin with a thick dry cap, add less air and spend more time rolling. Our temperature guide separates texture targets from serving preference, and large-bubble troubleshooting covers plant-drink formulation.
Fix the three common sounds and textures
A sharp squeal commonly means the tip is buried too deeply before air enters; ease it nearer the surface without exposing it completely. Loud chugging and large bubbles mean the tip is too high or the jug too low. No visible rolling means the tip or jug angle may be centred awkwardly; reposition once, then let the milk circulate. Change only one thing per attempt. A suitable milk jug helps you see the whirlpool and pour, but its spout will not repair over-aerated milk.
Milk that refuses to build fine foam may be an unsuitable formulation rather than poor hand position. Oat-milk troubleshooting starts with carton choice and temperature. If the wand barely produces steam or is blocked, use our cleaning sequence and the machine’s service instructions rather than poking an unknown tip while hot.
Finish with the clean-up
Wipe the wand immediately with the dedicated cloth and purge into the tray or a container as the machine directs. Keep fingers away from the tip and hot discharge. Wash and dry the jug. That thirty-second habit prevents dried milk from becoming tomorrow’s blocked-wand problem. For the alternative without a wand, see frothing milk with a jug or whisk.
Frequently asked questions
Do I need a thermometer?
It is useful while learning but not every machine needs one; some have temperature sensing. Taste and the machine’s instructions still matter.
Why is the foam sitting on top?
Usually too much air entered early or the milk did not roll long enough to integrate it. Use shorter aeration and a steadier whirlpool next time.
Is manual steam better than automatic milk?
It offers more direct control, but automatic options can suit a busy routine. Compare steam wand and automatic systems by both drink and cleaning.
Helpful products
A wand and jug route
These show manual and assisted steam options plus a correctly sized metal jug; check what your chosen machine already includes before buying another pitcher.
EC685.M
- 149 × 330 × 305mm
- 1.1L water tank
- EC685.M
Slim manual espresso choice
De’Longhi Dedica Style
Best for: a narrow worktop and someone willing to prepare and steam manually
At about 15cm wide, the Dedica makes manual espresso possible on a narrow counter. Its Thermoblock, programmable cup quantities and adjustable drip tray are useful; a separate grinder is still needed for fresh-ground coffee.
Why it earns a place
- About 15cm wide
- Manual steam wand
- Ground coffee or ESE pods
What to weigh up
- No built-in grinder
- Pressurised baskets limit fine espresso control out of the box
Skip it if You expect one-touch coffee or milk, or cannot spare space for a grinder.
Check the official specification →SEA401PSS0ZEU1, 420ml
- 420ml
- Handleless
- Silicone sleeve
Compact handleless jug
Sage Pro Control Jug
Best for: a practiced milk-steaming routine where hand position matters
A 420ml handleless stainless pitcher with removable silicone sleeve and angled opening. A specialist preference rather than a required upgrade.
Why it earns a place
- Angled opening
- Removable sleeve
- Compact
What to weigh up
- Grip is personal
- Smaller volume
- Higher cost
Skip it if You need a handle or are buying your first jug.
Check the official specification →Black Truffle, 54mm
- 54mm portafilter
- ThermoJet
- Automatic milk texturing
Fast heat and automatic milk
Sage Bambino Plus
Best for: a compact manual espresso route with supplied single- and dual-wall baskets
A compact ThermoJet machine with a 54mm portafilter and automatic milk texturing. The machine is capable, but a separate espresso grinder still determines how much control you have with its single-wall basket.
Why it earns a place
- Fast ThermoJet heat-up
- Single- and dual-wall baskets supplied
- Automatic steam wand
What to weigh up
- Separate grinder required
- Amazon colour/price variants fluctuate
- 54mm accessories need compatibility checking
Skip it if The current Amazon seller price is above your budget or you want a built-in grinder.
Check the official specification →Sources and scope
The cold-start, aeration, whirlpool and approximate temperature sequence follows Sage’s home frothing guidance. The actual steam-control and cleaning sequence must follow the manual for your machine; Sage’s steam-wand cleaning tutorial supports after-use care. This is a beginner technique, not a universal machine operating manual.