
Milk method · No steam wand
How to froth milk without a steam wand
Make a practical milk coffee using a self-heating jug or handheld whisk, with safety, oat-milk and texture troubleshooting.
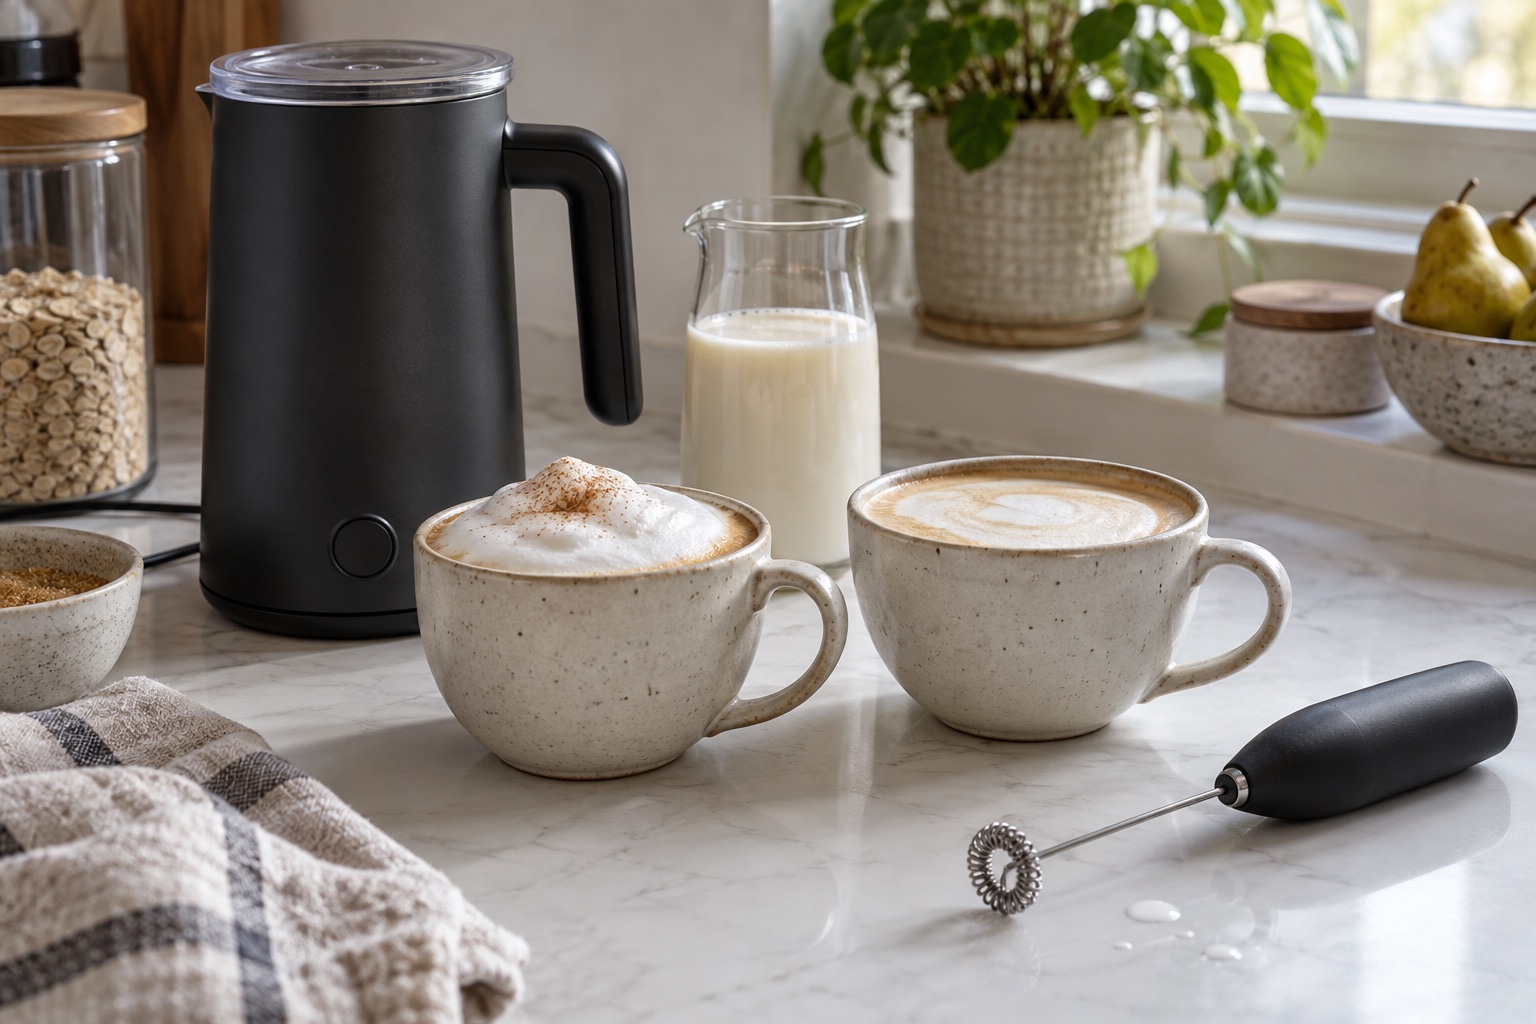
Use the exact fill marks and cleaning instructions on your device.
A battery whisk does not heat milk.
Chilled barista-style oat milk is a useful starting point, not a guaranteed foam.
Larger bubbles often mean too much air near the surface.
You can make an enjoyable milk coffee without an espresso machine’s steam wand. The target is a warm, pleasant drink, not an unsupported promise of identical café microfoam. Begin with the coffee base you like—an Original pod, AeroPress concentrate or short automatic-machine coffee—and prepare milk immediately before combining it.
Method 1: self-heating electric jug
Start with cold milk from its normal storage temperature. Fit the manufacturer’s whisk, pour only to the marked froth limit and select a hot-foam cycle. A heat-only line can be higher; using that amount for foam risks overflow. Let the machine stop on its own, then pour promptly. Swirl the jug gently before pouring if its manual permits, to bring liquid and foam together. Clean the inside and whisk according to the manual while residue is easy to remove; do not immerse a powered base or assume the jug itself is dishwasher-safe.
The Lavazza MilkEasy Plus has hot and cold modes and explicitly discusses dairy and plant drinks. Exact cycles and quantities should come from its manual, not a generic online timing. For a cold drink, use its cold programme and fresh chilled milk. A warm cycle is not a food-storage substitute; use prepared milk promptly and follow the carton’s instructions.
Method 2: handheld battery whisk
If you want a hot drink, warm milk separately in a suitable vessel using a safe method and test it before handling. Pour into a tall container with generous headroom. Put the Schiuma whisk head below the surface before switching on to prevent splashes. Hold it low initially to move the milk, then briefly raise it towards the surface to add a little air. Stop when the texture looks fine enough. Large, dry bubbles usually mean too much surface aeration; reduce time and start deeper next attempt. Switch off before lifting out and clean only as its instructions allow. Keep battery housing dry.
Oat milk and other plant drinks
Different brands and “barista” formulations contain different solids and stabilisers, so results vary. Shake the carton as instructed, begin chilled and avoid comparing a low-fat everyday drink with a foaming barista product as though the machine alone caused the difference. Try one change at a time: milk, fill amount or aeration. Our oat-milk setup guide connects the milk choice to the coffee machine.
Troubleshooting and drink balance
If foam is coarse, add less air and pour sooner. If the coffee vanishes under milk, use a smaller cup or a stronger coffee base rather than piling on more foam. If an electric jug overheats or refuses a second cycle, allow it to cool per its manual. For a more integrated flat-white-style texture, a steam-wand machine is the more direct tool. For equipment comparison see best milk frothers and handheld versus jug.
Frequently asked questions
Can I froth milk in a jar?
A sealed jar can aerate milk when shaken, but heating a sealed container risks pressure and burns. Use a suitable open vessel for heating and check its material. A dedicated frother is more repeatable.
Why does my oat milk separate?
The formulation, heat and coffee acidity can all contribute. Try a barista-style drink, avoid excessive heat and change one variable at a time. Do not infer that the coffee machine is broken.
How much milk should I use?
Use the device’s minimum and maximum marks first, then adjust cup size and coffee-to-milk balance. Do not exceed the frothing line to fill a large mug.
Helpful products
Equipment for the two methods
Use the jug when you also need heat; use the whisk when milk can be heated separately.
MilkEasy Plus
- MilkEasy Plus
- Hot and cold modes
Heated jug frother
Lavazza MilkEasy Plus
Best for: hot or cold foam beside a pod or filter setup
An electric jug for heating or frothing dairy and plant drinks with a magnetic whisk.
Why it earns a place
- Hot and cold modes
- Plant-milk guidance
- Magnetic whisk
What to weigh up
- Separate appliance and cleaning
- Texture differs from steam
Skip it if You expect steam-wand-style microfoam.
Check the official specification →3040-01
- 3040-01
- Battery powered
Low-cost whisk
Bodum Schiuma handheld frother
Best for: occasional foam without a heated jug
A battery-powered whisk that aerates pre-warmed milk but does not heat it.
Why it earns a place
- Small
- Simple
- Low-cost route
What to weigh up
- Does not heat
- Batteries required
- Can produce coarse foam
Skip it if You need self-heating or steam-like microfoam.
Check the official specification →Sources and method
The jug functions follow Lavazza’s MilkEasy Plus guidance. For either tool, the manual supplied with the exact unit takes priority for fill, safety and washing instructions.