
Manual brewing · Practical method
How to use an AeroPress
A repeatable upright AeroPress Original recipe with dose, water, steep, gentle press, cleaning and fixes for fast drip or hard plunging.
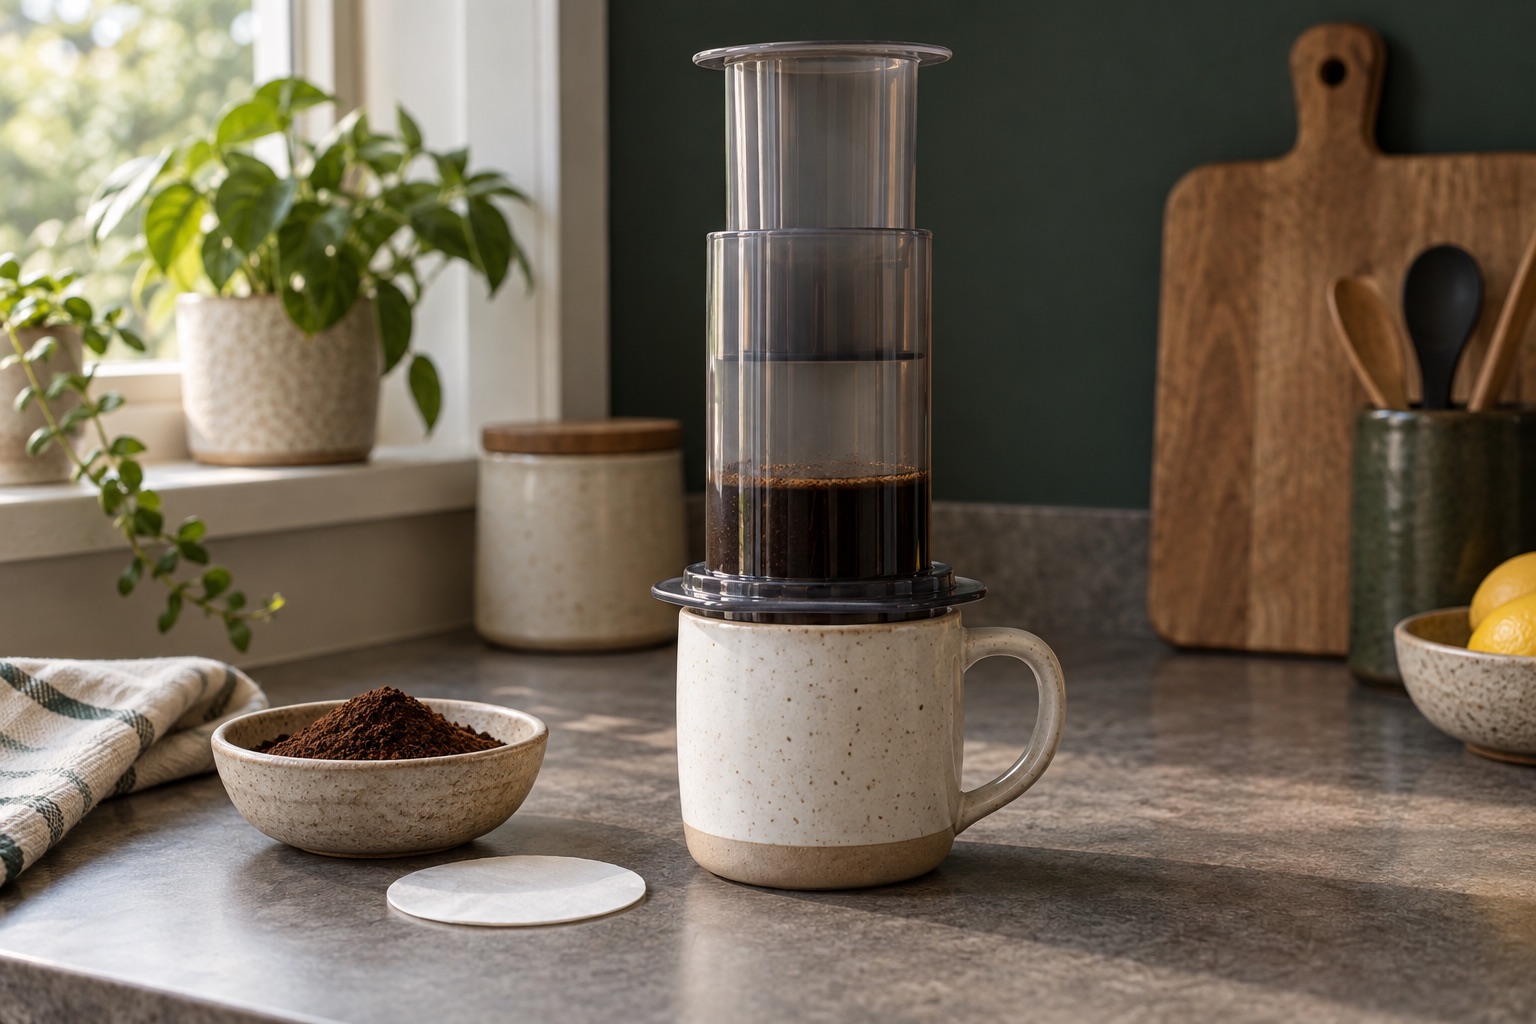
Use a mug wide and strong enough to support the brewer.
Do not press on top of a scale or a delicate glass.
Press gently; excessive force signals a grind or filter problem.
The Original uses standard, not XL, paper filters.
An AeroPress combines immersion with a short, gentle press through a filter. It is a small-batch brewer, not a nine-bar espresso machine. Recipes vary enormously; start with one upright method and change only dose, grind or steep after tasting. The AeroPress accessories guide separates useful replacements from optional upgrades.
Gather the right parts
This recipe is for the AeroPress Original, not the XL. Set out its chamber, plunger, cap, a standard round paper micro-filter, sturdy mug, 14g medium-fine coffee, 200g hot potable water, spoon and timer. Manufacturer guidance uses about 14g per heaped scoop; weighing the coffee makes later adjustment easier. A scale helps but does not have to sit beneath the mug while you press.
Check the mug's rim supports the entire brewer flange without wobble. Do not press over an open sink, thin glass or top-heavy vessel. Warm water helps seat the paper and preheat the mug, but discard rinse water before brewing. The manufacturer suggests different starting temperatures by roast; without a variable kettle, let boiled water settle briefly and adjust to taste. Avoid assuming one exact temperature fits every coffee.
A straightforward upright recipe
- Put one standard paper filter into the cap, wet it if desired, and twist the cap fully onto the chamber. Stand the chamber securely over the mug.
- Add 14g medium-fine ground coffee. Level the bed with a gentle shake. Start a timer as you add 200g hot water, wetting all grounds.
- Stir gently two or three times. Insert the plunger seal a short distance into the chamber and draw it back very slightly to create a seal, limiting early drips. Do not push yet.
- At about one minute, hold the mug and brewer steady and press with slow, even pressure. A 20–40-second gentle press is a useful cue. Stop when the liquid has passed and you hear the air hiss; there is no need to force the last drops.
- Remove the brewer, taste after the coffee cools slightly and add hot water if you want a longer, lighter mug.
Some water can drip through before pressing with the standard cap. That is normal and does not ruin the drink. If you prefer longer, tightly controlled steeping, the optional Flow Control cap reduces early drip-through. AeroPress advises against the inverted method because a flipped hot brewer is less stable; the upright seal is safer for a first recipe.
Make adjustments by taste and feel
If the cup is weak, try a little less water, a slightly finer grind or a longer steep—but only one at a time. If it is harsh, try a coarser grind or shorter steep. If pressing takes much force, do not push harder: very fine particles may have clogged the paper. A coarser grind or a cleaner filter can fix it. If a full mug is your goal, dilute a concentrated brew after pressing or make a second batch rather than overfilling the chamber. The ratio guide puts these choices in context.
Paper gives a relatively clear cup. The official reusable metal filter allows more oils and fine particles through; it changes texture, not necessarily quality. A cafetière also has a different serving size and sediment profile; see AeroPress versus cafetière.
Clean and store it
After the brewer cools enough to handle, unscrew the cap, eject the compressed grounds and paper into appropriate waste, then rinse the cap and chamber. Clean the seal periodically as directed by AeroPress. Store with the plunger pushed through the chamber so the seal is not kept compressed in a tight position. Check the filter disc is removed before attaching a new one next time.
Frequently asked questions
Can I use espresso-ground coffee?
It may make pressing difficult. Start at medium-fine and grind finer only if flow and flavour suggest it.
Does the AeroPress make espresso?
It can make a short, strong coffee but does not reproduce machine espresso pressure or crema. For that workflow, compare beginner espresso machines.
Is a metal filter required?
No. Standard paper discs are the simplest baseline. Metal is a texture and reuse preference.
What if water drains before the press?
Some early drip is expected. Insert the plunger seal gently after stirring or use a compatible control cap if a longer immersion is important.
Helpful products
The standard brewer, matching papers and optional control cap
The Original comes with starter papers; buy a refill only when needed. The Flow Control cap is optional for people who want a longer steep with less early drip-through.
Original standard
- Original
- 10oz chamber
- Standard filters
One-cup press
AeroPress Original
Best for: a compact, quick single-cup manual brewer
A standard-size immersion-and-pressure brewer supplied with paper filters, cap, scoop and stirrer; not the larger XL format.
Why it earns a place
- Compact
- Included filters
- Straightforward cleaning
What to weigh up
- Small batches
- Filter replacement
- Requires sturdy mug for pressing
Skip it if You need a large batch without multiple presses.
Check the official specification →Standard, 350
- 350 filters
- Standard size
- White paper
Reliable clean cup
AeroPress Paper Micro-Filters
Best for: replenishing standard AeroPress papers without changing the recipe
The official 350-count standard white paper discs are the simple replacement for a clean, low-sediment AeroPress cup. They are not XL filters.
Why it earns a place
- Familiar paper filtration
- Compact storage
- 350-count pack
What to weigh up
- Repeat purchase
- Not XL size
- Paper waste
Skip it if You own only an AeroPress XL or want a reusable metal filter.
Check the official specification →Standard cap
- Standard size
- Not XL
- Pressure-actuated valve
Control drip-through
AeroPress Flow Control Filter Cap
Best for: a standard AeroPress user who wants to hold water in the chamber
A pressure-actuated cap that stops early drip-through so you can vary immersion time. This standard version does not fit the XL; check older Original compatibility.
Why it earns a place
- Controls drip-through
- Works with paper or metal
- Standard-sized accessory
What to weigh up
- Extra part to clean
- Not for XL
- Not a true espresso conversion
Skip it if Your existing workflow is already easy and repeatable or you use an XL brewer.
Check the official specification →Sources and method note
The Original's included parts and capacity follow AeroPress UK. Its FAQ supports the approximate scoop dose, medium-fine grind, gentle pressing and upright-seal technique, including the warning about inversion. This measured one-cup recipe is an adaptable baseline.