
Brewing method · Espresso
How to dial in espresso by taste
Use dose, beverage yield, grind and flavour to dial in home espresso, with a repeatable starting recipe and clear fixes for sour, bitter or thin shots.
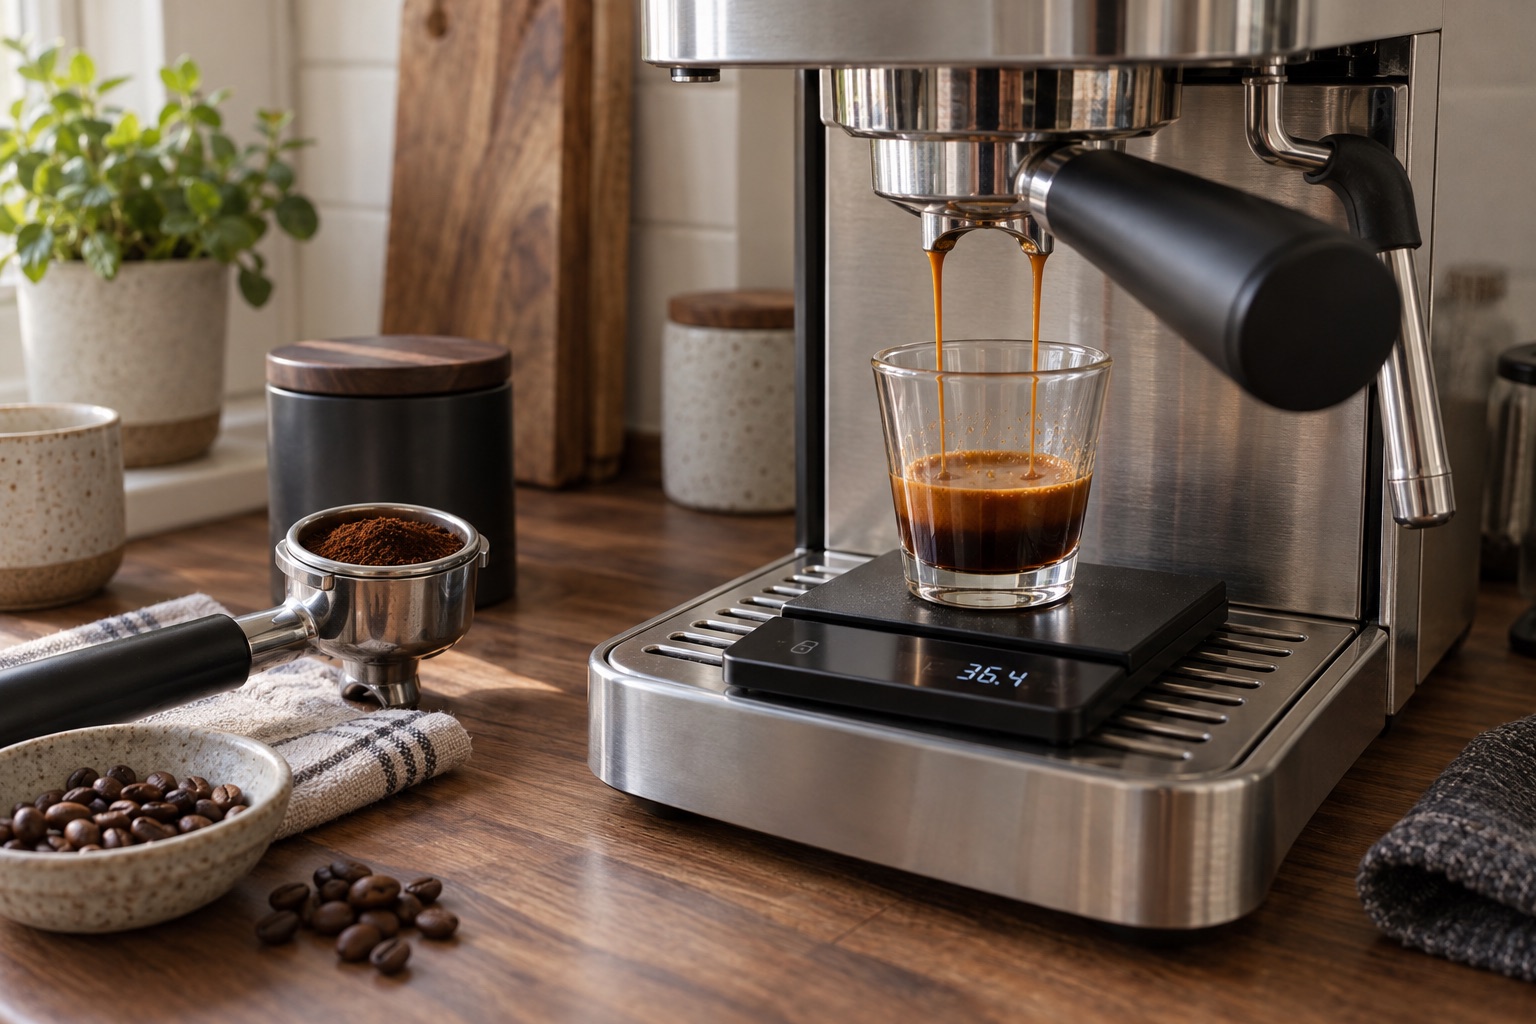
Write down bean, dose, yield, time and taste for two or three trials.
Change only one variable per shot.
“Sour” and “bitter” are clues, not absolute extraction meters.
A pressurised basket offers less direct grind-led control than single-wall.
Dialling in is not a hunt for one sacred number. It is a short sequence of controlled changes until the coffee tastes good enough that you can make it again tomorrow. The simplest record is: coffee and roast, dry dose, drink weight, time and a few tasting words. You need not pretend to be a professional taster; “sharp”, “dry”, “sweet enough” and “too weak” are useful.
Set a first recipe
Use the dose range for your actual basket, not a recipe copied from a 58mm café group. If the basket accepts 18g, a trial of 18g coffee to about 36g beverage is a common 1:2 starting ratio. If it is designed for 14g, start closer to 14g in and 28g out. Weigh finished beverage rather than relying on cup markings, which obscure differences in crema and cup shape. Note approximate time from pump start; Sage's 25–30-second guidance is a starting window, not a quality certificate.
Use the same bean and preparation across trials. Grind fresh if possible, distribute grounds evenly, tamp level and run the shot. Taste without milk first if you can, because milk masks some differences. A pleasant shot may be outside the textbook time or ratio: keep it.
Choose the next change from taste and flow
| What you notice | First controlled experiment | Keep unchanged |
|---|---|---|
| Sharp/sour and fast | Grind one small step finer | Dose and target yield |
| Dry/bitter and very slow | Grind one small step coarser | Dose and target yield |
| Balanced but too intense | Try a slightly longer beverage | Dose and grind |
| Balanced but too weak | Try a slightly shorter beverage | Dose and grind |
| Sour and bitter at once | Improve distribution; check channeling | Bean and dose for next shot |
This is a diagnostic map, not a promise: roast flavour, water, temperature and uneven extraction can complicate it. A dark roast may taste intrinsically bitter at many recipes; a light roast may retain pleasant acidity. Use why coffee tastes sour and why it tastes bitter for those distinctions.
Work with the basket you own
With a single-wall basket, small grinder changes are often the most effective first adjustment. If the shot gushes, see espresso running too fast; if it chokes, see running too slowly. Keep notes on which direction helped. If your grinder cannot produce a useful fine range, diagnose it before replacing it.
With a pressurised basket, the outlet adds resistance, so do not apply single-wall timing rules mechanically. Focus on fresh coffee where practical, a supported dose, sensible yield and a clean basket. Pre-ground coffee fixes the grind before you open the bag; you can still experiment with beverage length and beans, but not fine grind adjustment.
A three-shot learning exercise
Shot one establishes the baseline. For shot two, change only grind in the direction suggested by flow and taste. For shot three, either keep refining grind or, if flow is reasonable, change only yield. Write one plain sentence about each cup. If you make a milk drink, also taste whether the espresso remains present after milk. This teaches more than chasing a pressure gauge or buying a new tamper after one bad shot.
Frequently asked questions
Should I stop every espresso at 30 seconds?
No. Stop at your chosen beverage mass, record time and taste. Timing helps compare trials but can vary with basket, coffee and machine.
Why does my good setting change with a new bag?
Beans differ in roast, density and age. Recheck dose and adjust grind in small steps when opening a new coffee.
Do I need a refractometer or bottomless portafilter?
No. A scale, notes and palate establish a useful home routine. Specialist tools may help a later question, but they are not prerequisites for a pleasant drink.
Helpful products
Tools only where they add control
A scale makes output repeatable; an espresso-range grinder permits fine changes with a single-wall basket. A phone timer and your current equipment may be enough to start.
Exagram
- 77×124×24mm
- 0.3g–2kg
- 2 AAA batteries
Compact espresso fit
Wacaco Exagram
Best for: small drip trays and a simple timed dose
A narrow 77mm-wide scale with timer, tare and 0.1g steps up to 999.9g. Useful beneath an espresso cup but less comfortable for a wide filter server.
Why it earns a place
- Compact width
- Timer and tare
- Silicone pad
What to weigh up
- AAA batteries required
- Small platform
Skip it if You regularly weigh a large pour-over server.
Check the official specification →ZCG495 / 495W-230V-G
- 40 settings
- 40mm steel burrs
- 230V UK model
Best fit for most homes
Baratza Encore ESP
Best for: households switching between espresso and filter
Its adjustment range is deliberately divided between finer espresso settings and broader filter settings, so it is the most convincing one-grinder answer here for a mixed routine.
Why it earns a place
- Dedicated espresso and filter ranges
- Simple hopper adjustment
- Dosing cup included
What to weigh up
- Manual dosing rather than a timed display
- Plastic-led body
Skip it if Timed portafilter dosing is the feature that would make everybody else in the house use the setup.
Check the official specification →Sources and scope
The starting ratio and one-variable adjustment method follow Sage's dial-in guidance and Sage's espresso tutorial. Exact recipes are starting points to adapt by taste.